5. Data Management
5.1. Sync
Dyrii using Apple iCloud for storage. We have written custom sync solution on top of iCloud to refresh your data on all your devices.
iOS To enable this function on iOS, navigate to Settings/Storage and select iCloud as the option. Sync cannot be enabled unless you select iCloud for data storage. Once selected, sync will automatically turn on. We have also provided setting to disable sync when not on Wifi which can be accessed from Settings/Manage Data/Sync.
Mac On the Mac, this option resides in the top toolbar as indicated in the screenshot below. This option can also be enabled from the Preferences settings as indicated in the below screenshot.
5.2. Backup
The database and support files (including user data) used for the operation of Dyrii Mac App, resides under following folder. While all your data might be already stored in iCloud, some entries might still be local on the device and waiting to be synced. Making a copy this folder to a safe place manually, will enable you to to back up everything from your specific device.
~/Library/Containers/com.ectree.Dyrii-Mac/
Use this option if you ever need to to wipe clean your hard drive or replace your computer. While copying, make a full copy of this folder including the root folder “com.ectree.Dyrii-Mac”.
To restore this data to a new computer, just copy paste this the “com.ectree.Dyrii-Mac” folder to the ~/Library/Containers/ directory on your new computer or drive. Dyrii app should not be running while you do this operation.
IMPORTANT NOTE: Do not tamper with the files inside this folder. These files are used by the application and tampering them might cause the application to crash or not function properly. If you have questions, please leave a comment on this post or email us at support@dyrii.com.
5.3. Restore
If you have been using Dyrii in Local Mode, you will find the Restore feature quite handy when switching devices. This feature enables you to restore the data using a backup file. You can basically export a backup file from the source device using the backup and export option and then use that file to restore your data into your new device.
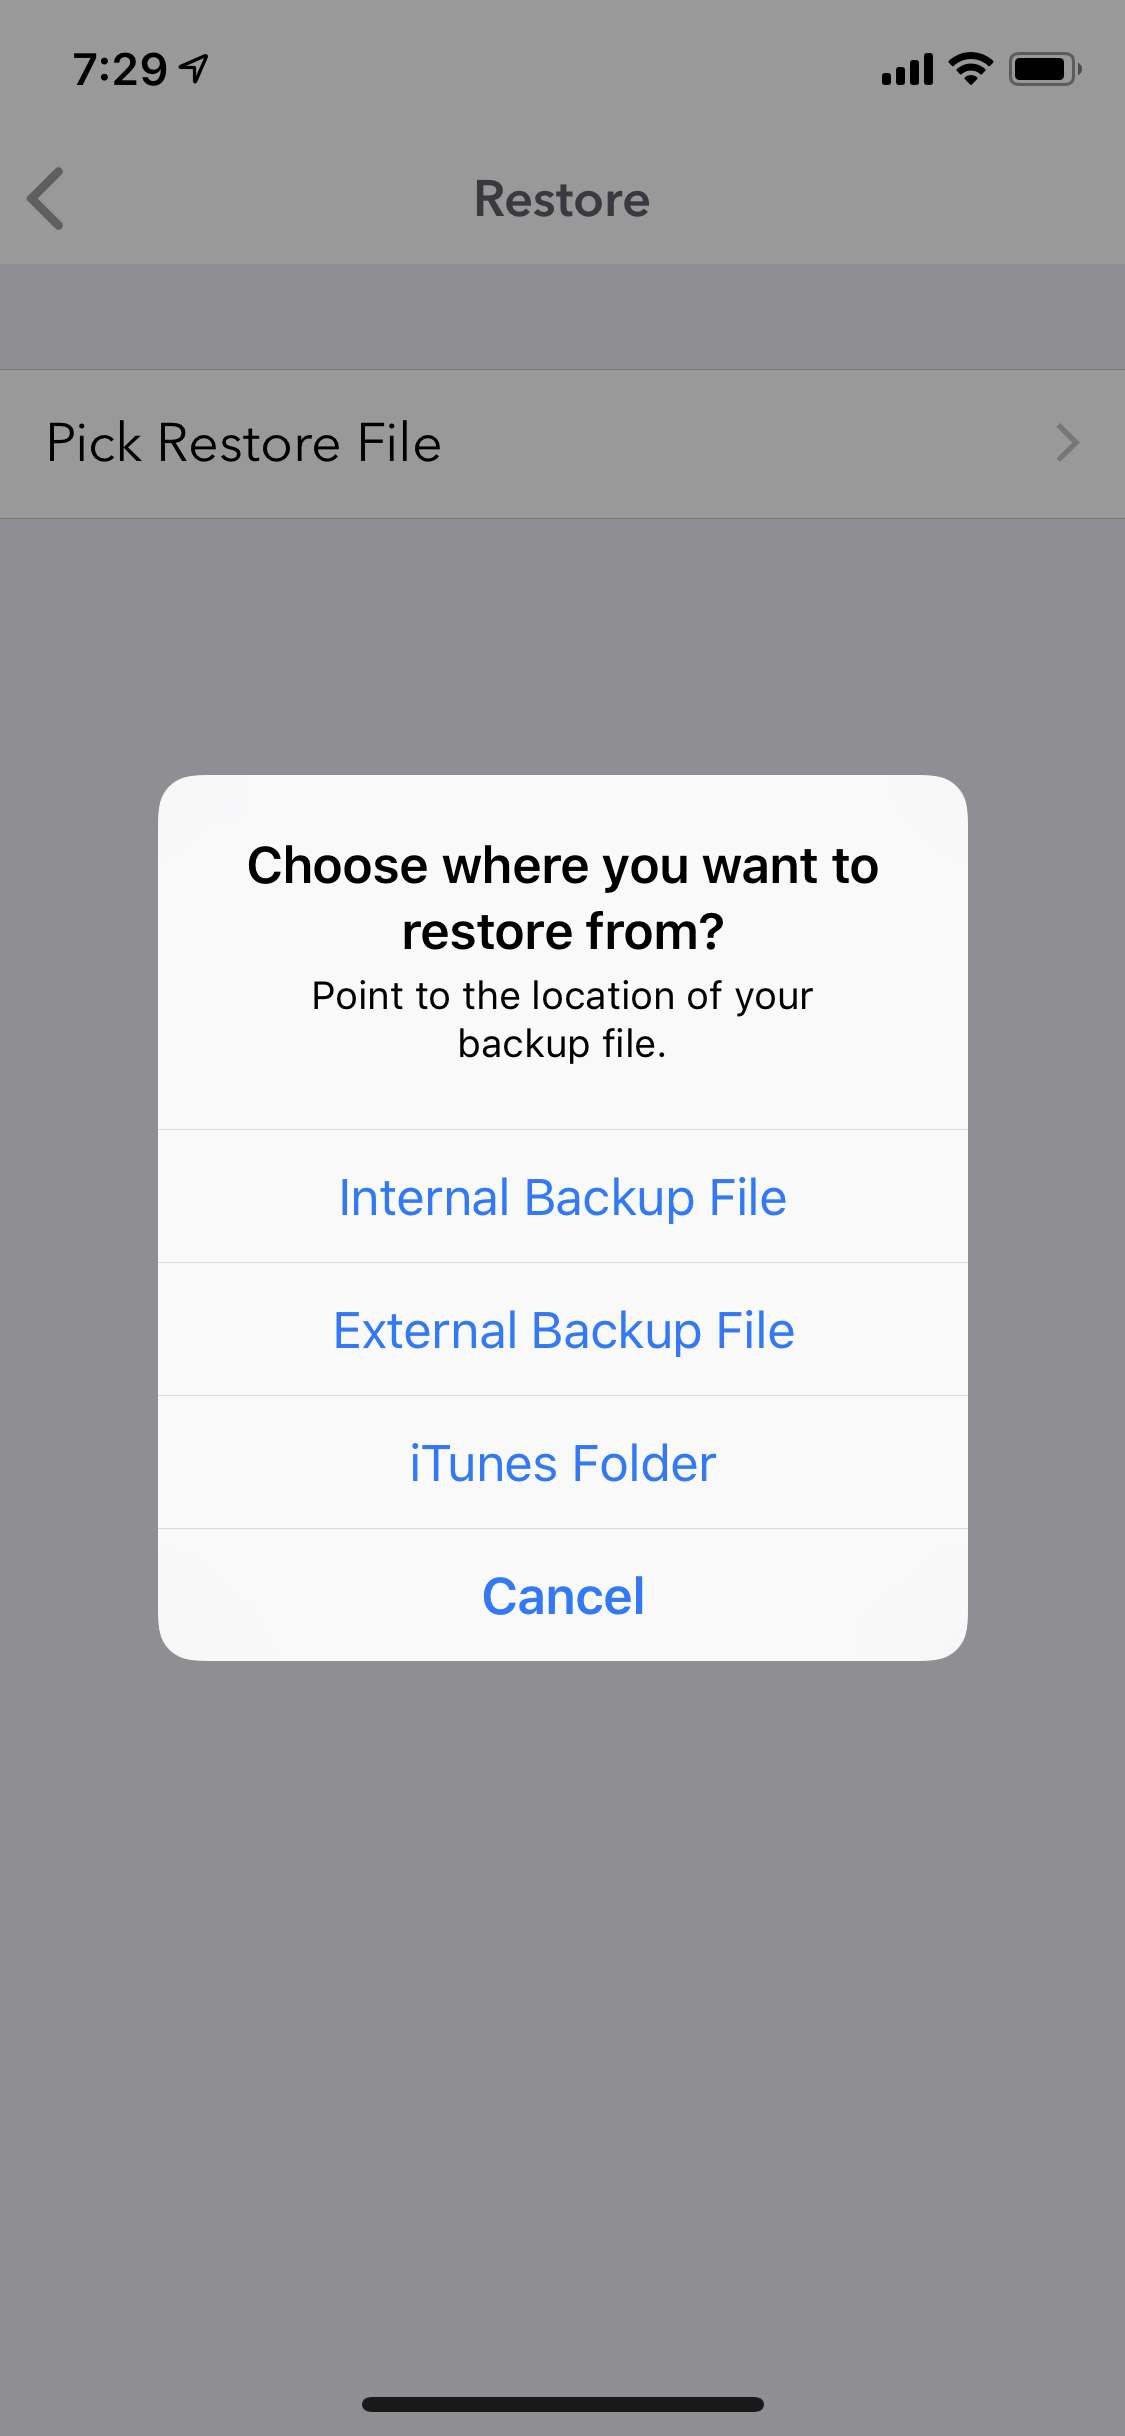
To access this function, navigate to Settings > Manage Data > Restore. This function will also allows you to restore data from the existing backup file created routinely on the same device (Internal Backuo file). This is especially handy in situations when you happen to upgrade the OS on your device and accidently lose data. Using this function, you will be able to restore data from previously created backup. So, make sure you have backup enabled for such scenarions.
5.4. Import
Dyrii supports migrating your existing data from Day One Classic and Day One v2. These import options are available in both iOS and Mac version of the app.
Migrating from Day One Classic: To import your entries from Day One Classic, follow the following steps.
- On your Mac, open Day One Classic and navigate to PreferencesBackup tab.
- Click on the Backup folder icon where your backup files are stored. If you have changed this folder location, you might see a different folder name here instead of “Backup”.
Clicking on this icon will open the Backup folder in Finder.
- Sort the files located in the backup folder and pick the latest backup file. Copy this file into a temporary folder.
Note: Verify that the zip file contain entries and photos folder directly within the root path of the zip. If you see another file called Journal.dayone, then following the below steps:
3.1 Create a fresh folder called “Journal_dayone”. You can create this anywhere in your file system.
3.2 Copy the entries and photos folders from the backup file location to the above Journal_dayone folder.
3.3 Now, try to import from Dyrii and point to the Journal_dayone folder.
- Open the Dyrii app and click on “Import to Dyrii” option from File Menu.
- On the popup file picker screen, navigate to the folder path where you copied the backup file.
Alternatively, you can also select the “Journal_Dayone” folder instead of the .zip file. The import process supports both.
- Select the .zip file or the “Journal_Dayone” folder and click Open. This will initiate the import process.
If you have large data to import, it might take few minutes for the import process to finish. Be patient and wait for the progress bar to finish.
If you are trying to import from DayOne v2 instead of DayOne Classic, then read this article - Migrating from DayOne v2.
Troubleshooting Notes: If your zip file or folder doesn’t work, then validate that it contains the following two folders inside it:
entries photos If it does not contain these folders and instead contains another file for example “Journal.dayone”, then do the following:
Create a fresh folder called “Journal_dayone”. You can create this anywhere in your file system. Copy the entries and photos folders from the backup file location to the above Journal_dayone folder. Now, try to import from Dyrii and point to the Journal_dayone folder. If you are still having issues, please leave a comment below or email us at support@dyrii.com
Migrating from DayOne v2:
To import your entries from Day One v2, follow the following steps:
- On your Mac, open Day One v2 and navigate to the sidebar where journals are listed.
- Right Click on “All Entries” item and select Export/JSON from the context menu.
Save the generated export file in a temporary location.
- Open the Dyrii app and click on “Import to Dyrii” option from File Menu.
- On the popup file picker screen, navigate to the folder path where you copied the backup file.
- Select the .zip file and click Open. This will initiate the import process.
If you have large data to import, it might take few minutes for the import process to finish. Be patient and wait for the progress bar to finish.
5.5. Export
The entries from Dyrii can be printed or exported as PDFs. This option is located in post view under Export option. See below screenshots on how to get to this option for reference.
iOS Step 1: Navigate to post detail view and click on more (…) button.
Step 2: Click on Export option and select “Export as PDF”.
Step 3: Select either Print or one of the available export mediums such as mail or message
Step 4: If printing, select from the print options.
Note: Printers with Airprint support should automatically show up here.
Mac On Mac, this option resides on the Menu bar under File/Export as PDF. Here you will be able to command-select multiple entries and print them selectively on one PDF as illustrated in the screenshot below.
5.6. Reset
Dyrii provides an option to completely reset your data. Please be extremely careful before you use this function as this will delete all your data from your device as well as from your iCloud Account. Therefore, backup your data before you use this function.
